Do your chickens look like they have male-pattern baldness? Are they quickly dropping feathers, losing their lush tails, and looking as though they’ve been drained of their color? Does it look like a raging feather pillow fight occurred when you open your coop in the morning?
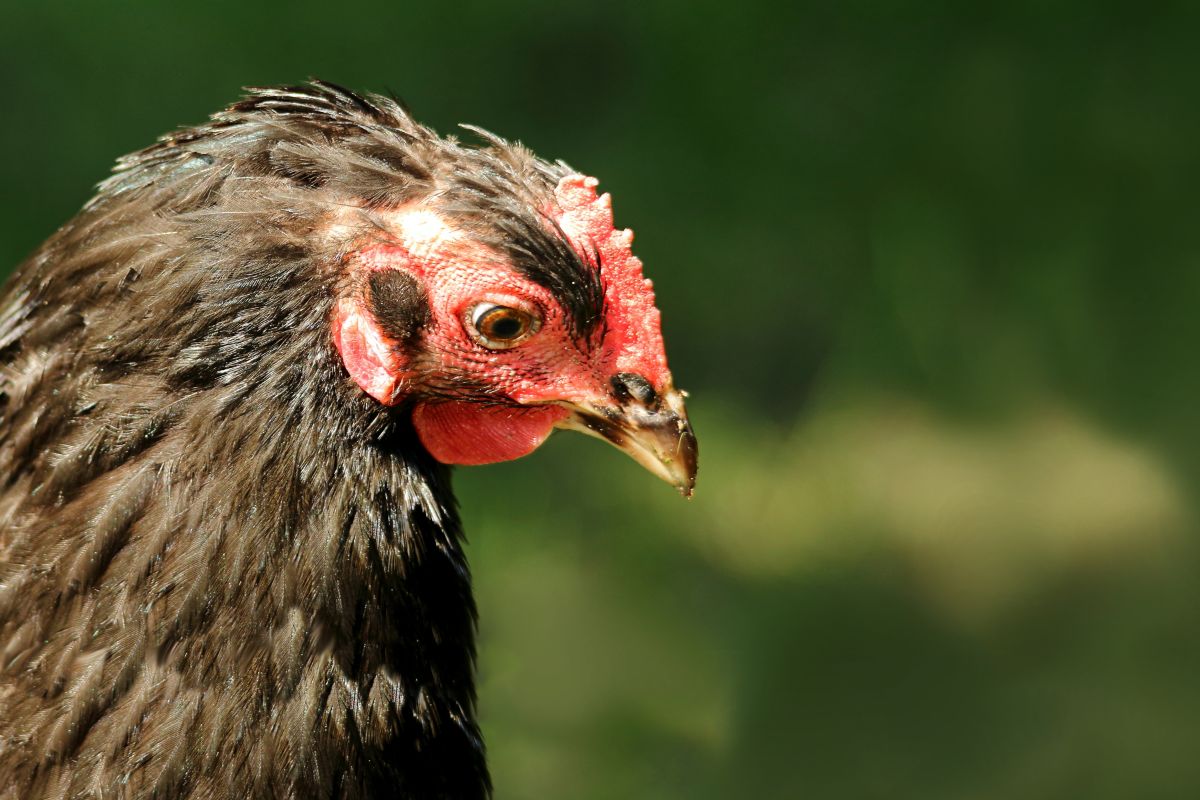
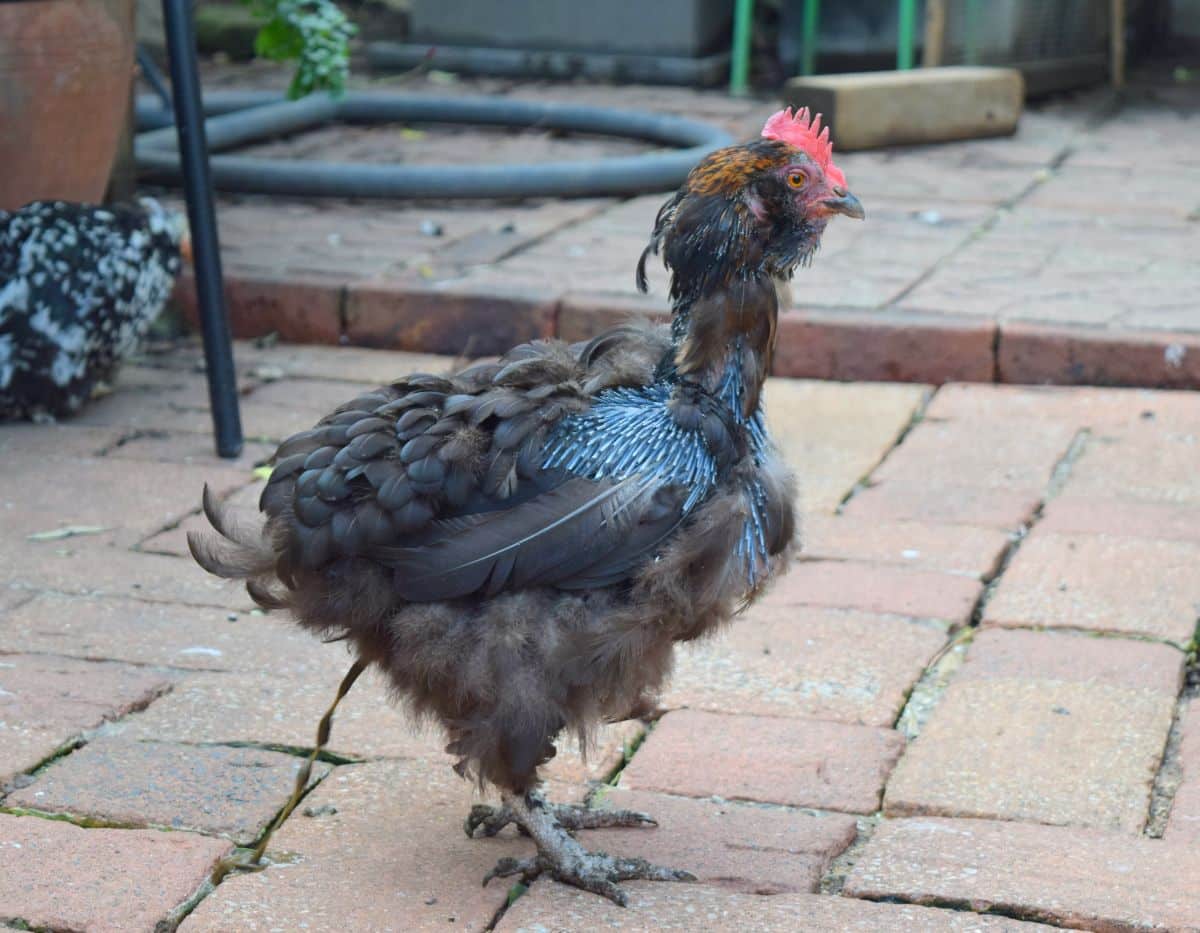
Does your chicken yard look like some animal shook your chickens like a ragdoll and stripped them of half their feathers? Do you see thinning and balding patches on your birds? Are you alarmed?
If it’s fall, don’t be. While losses of large amounts of feathers and bare patches in most months may be a sign of animal predation, harassment, illness, or parasites, during the fall, it’s probably just the quite normal process of molting.
Jump to:
What Is Molting?
Molting is a natural process that all chickens (and roosters) go through. Young chicks will go through a couple of molting phases as they grow true feathers and replace baby down and first feathers. After that, starting in the fall, after they have turned one year old, each chicken will molt every year.
Molting is triggered by the change in the seasons (from summer to fall) and the decrease in light hours that come with it. When the days get short, your chickens will lose their feathers from the head down and gradually start replacing them.
Molting and Egg Production
The thing to know about molting from an egg production perspective is that egg production will slow way down and is quite likely to stop. The stoppage can last for up to three or four months. This is because growing new feathers requires a lot of protein, so the protein that your chickens usually put into egg production goes into feather production.
It’s difficult to say exactly how long your molt will last because different individual birds and different breeds of chickens may move through molting quicker than others. There are natural triggers involved, too, which include the length of your days (hours in daylight) and temperature. Your chickens’ diet impacts how quickly they regrow their feathers and return to egg laying, too--though you can’t entirely force your chickens back from a molt based on diet alone.
The bottom line is if you want a steady supply of eggs from your own chickens, you have to do something to ensure that supply. Flock management is one way, but guaranteeing fresh eggs that way means that you would have to add new young chickens to your flock every single year (and time the age of the new chickens so that they are ready to start laying as your molting chickens take their break). Over time, this can result in a much larger flock than you wanted or needed.
Another way is to save or preserve your excess eggs during the booming late summer months to carry you through the molting season.
Saving Excess Eggs to Get You Through the Molting Season
One of the most offensive things you will experience as an egg-laying chicken owner is having to buy both chicken feed and eggs. If you do not plan ahead for the molting season, however, this is exactly what will happen to you.
For many of us, our girls gift us with more eggs than we need during their laying months. Maybe you give yours to family members and friends. Maybe you sell them on the roadside—more than likely, selling out of those little gift-wrapped globes of protein-rich sunshine.
In the weeks leading into the molting season, you may want to rachet back the sales and giveaways. Take a little time to preserve some of your abundances now, and you can keep yourself in eggs until your girls start giving you more than you need once again.
So, what are some ways you can save your extra eggs so that your budget isn’t pulling double-duty in the off-season? Here are four (plus a few more ideas):
Simply Storing
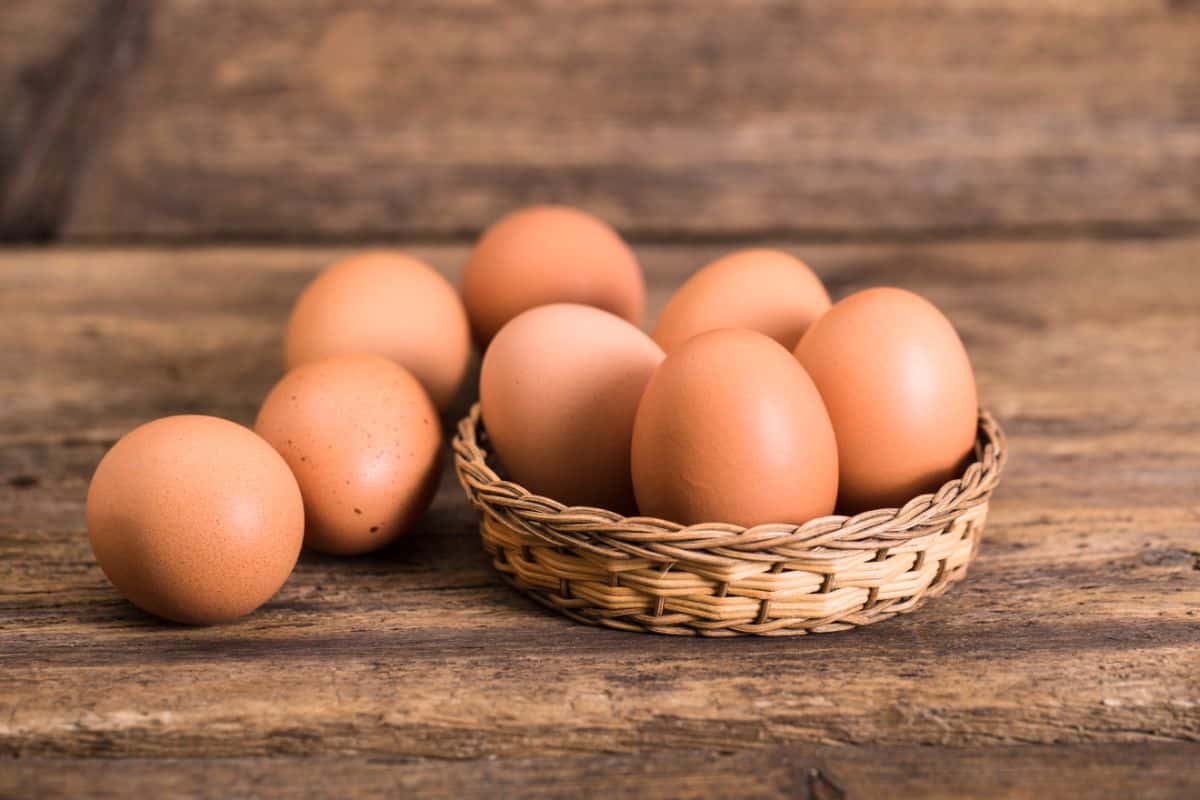
Fresh eggs that have the “bloom” intact have a long shelf life. “Bloom intact” means that they have not been washed, so they keep their natural protection and can be stored without refrigeration for some time. This refers only to homegrown or local farm-grown eggs that are bought soon after they are laid.
Fresh eggs with the bloom intact (unwashed) can be stored at room temperature for up to three weeks. If eggs have been washed, they need to be refrigerated immediately and should not be stored out on the counter.
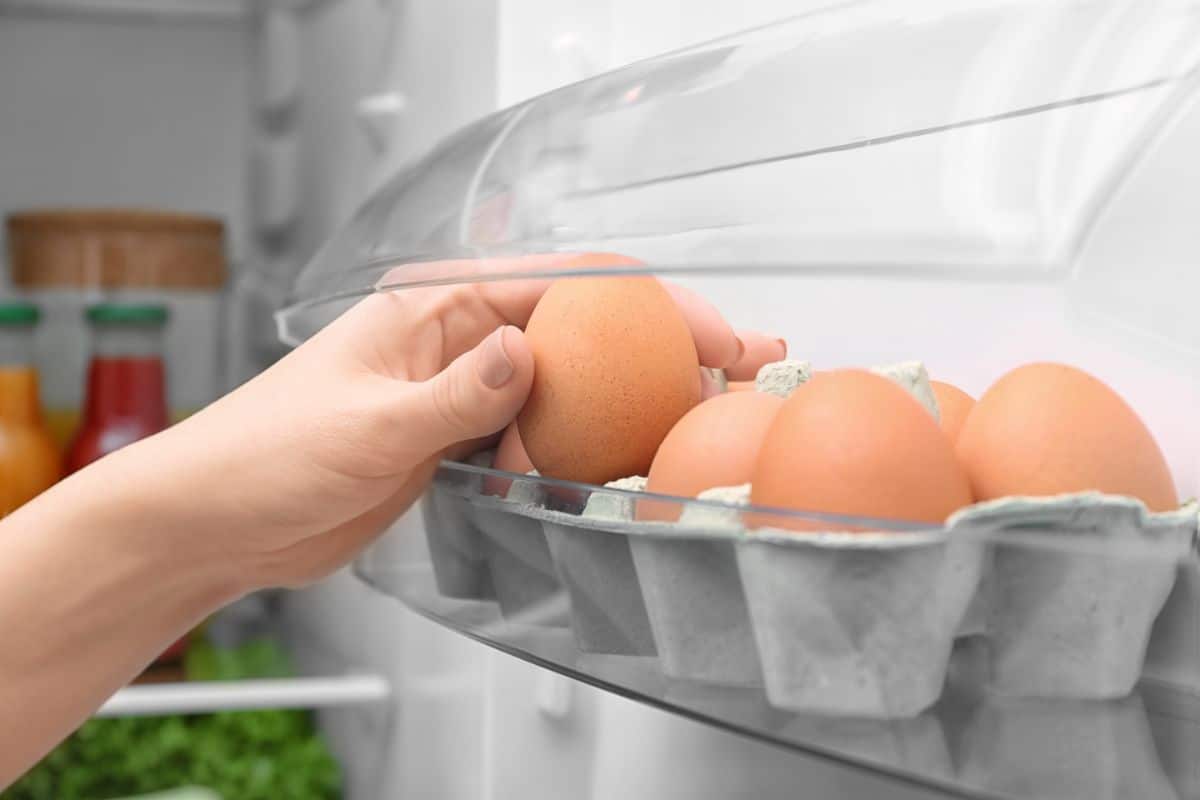
Unwashed eggs will last for several months if kept in cold storage. Cold storage can either be in a refrigerator or in a cold room that does not get above 40 to 50 degrees Fahrenheit (F). Cold-stored eggs will last for three months.
Eggs that have been washed will also last for three months, but they need to be stored in a refrigerator at under 40F.
If keeping your eggs for that long sounds like a long time to you, know this: Eggs from the grocery store can be up to three months old! The U.S. has some of the highest regulations for packing and selling eggs, and even by U.S. standards eggs can be up to two months old on the store shelf, with an additional Use-By date of a month after that.
The short math? Even U.S. grocery store eggs can be three months old by the time they are consumed. So, keeping your own fresh, home-grown eggs for three months is no big deal. In fact, some sources list the shelf-life of fresh, unwashed, cold-stored eggs to be as long as six months.
As your eggs reach the three-month and longer point, it’s smart to do a simple float test to test for freshness and usability. This test can be done at any age, of course, but there’s not much point in testing an egg if you know it is only around three weeks old or younger.
In terms of storing eggs to get you through the molting season, a good cold storage area may be all you need. On average, molting will be over by 12 weeks (about 3 months), so it is realistic to think you can store eggs to get you through the eggless days. It depends a lot on how many eggs you can store near to molting time so that they do not get too old before your chickens start laying again.
Freezing
Did you know you can freeze eggs? Frozen eggs are good for a year or so. They can be used for baking and for things like quiche and scrambled eggs.
There are a few options for freezing eggs, depending on how much you use them and in what quantity. Obviously, frozen eggs are a little less convenient because thawing means you have to plan ahead a little more. That is just a small extra step of setting a container of eggs in the refrigerator the night before, thawing a portion on a counter before you start baking, or thawing the container in cold water.
You can freeze eggs whole or separate them into egg whites or egg yolks. Here’s how to prepare eggs for freezing:
TIP: Egg yolks gel and coagulate a lot when frozen, so eggs need to be very lightly beaten.
WHOLE EGGS: Beating whole eggs to combine the yolk and white helps to preserve more of a normal beaten egg texture. To freeze whole eggs, simply whisk the eggs lightly with a fork or crack them through a fine sieve, which will blend the yolk and white together without introducing a lot of air. The goal here is to just mix the yolk and white together, not whip as you would when cooking or baking. Try to limit the air and bubbles when whisking.
EGG WHITES: If you use a lot of egg whites, such as for cooking or baking, making merengue, or egg white omelets, you can still use frozen eggs. You just have to separate the egg whites before freezing. Separate the yolks from the whites in the usual way, then gently whisk the egg whites. Set the yolks aside and freeze them separately for other uses. Package prepared egg whites the same as whole eggs for freezing.
EGG YOLKS: Egg yolks get thick and gelled when frozen, so if you are separating yolks and freezing them separately from the whites, gently mix in either sugar or salt to help keep them from getting too coagulated. For every six egg yolks, mix in one teaspoon of sugar or one-half teaspoon of salt. Label, so you know how much salt or sugar is in the yolk mix when you go to use it. Package the same as whole eggs or egg whites.
To Package Frozen Eggs:
You can freeze eggs individually or in bulk.
- To freeze individually, place each individual beaten egg, individual white, or separated yolk into an ice cube tray and freeze. Once frozen, remove from the tray and transfer to a bulk freezer bag or freezer container. Label. You’ll know that each portion equals one whole egg, one egg yolk, or one egg white.
- If freezing in bulk, prepare the egg according to the instructions above, then pour it into a freezer-safe container. Label. If the recipe you are preparing requires a certain measurement of eggs, use the following equivalent measurements:
3 Tablespoons of whole egg (mixed, unseparated) equals one whole egg
2 Tablespoons of egg white equals one egg white
1 Tablespoon of egg yolk equals one egg yolk
Dehydrating
First, let it be said—dehydrating eggs, from a food-safety standpoint, is one of the riskier ways to preserve eggs.
The biggest concern here is the presence of salmonella and whether it is killed by dehydration temperatures. If you are able to dehydrate at a temperature of 150 to 160 degrees Fahrenheit (F), you should be able to dry your eggs and kill salmonella but understand that we have to say it is “at your own risk”. Then again, any food handling is really “at your own risk”. There is a very good discussion over this here. Of course, not all chickens carry salmonella; there’s just a risk that they do.
A couple of other things to consider—the high temperatures of cooking or baking would also kill salmonella. Salmonella dies at a temperature of 150 degrees F, according to Texas A & M University. So, as long as you use your dried eggs for cooking or baking and you don’t eat raw dried eggs or batters before cooking, the risk should be mitigated.
To save eggs by dehydrating, first, whisk or blend the eggs together. You can use a kitchen blender for this if you like.
Pour the blended eggs onto a fruit roll drying sheet (one with a lip) or onto a baking sheet if using your oven.
Dehydrate the eggs for 10 hours at 165F. Turn the sheets halfway through for a more even, efficient drying.
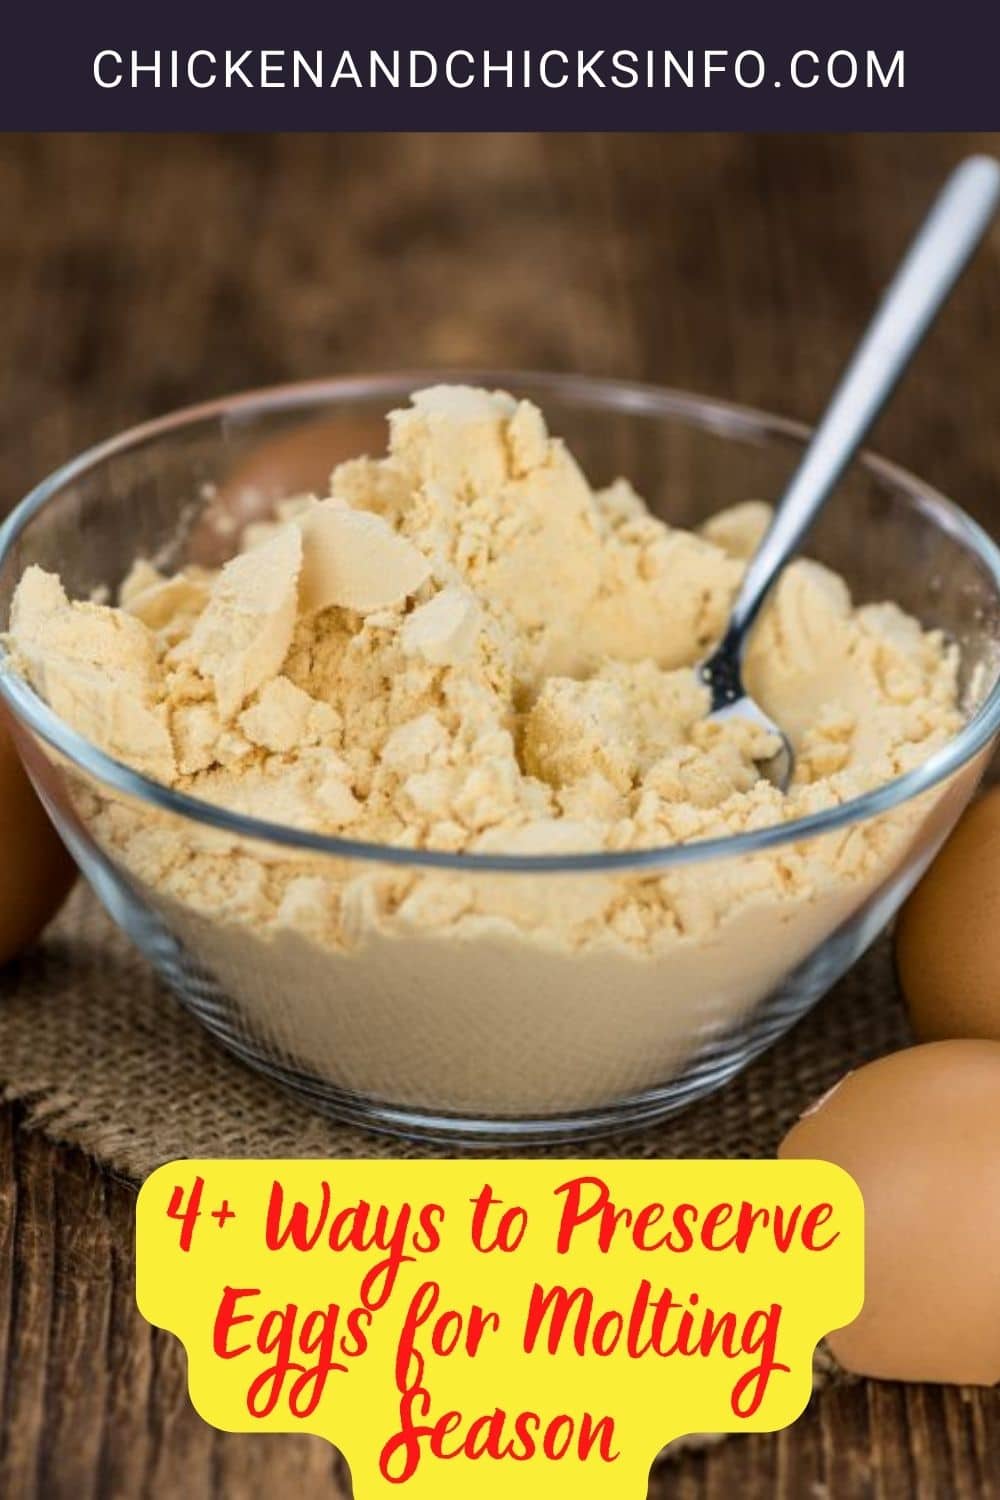
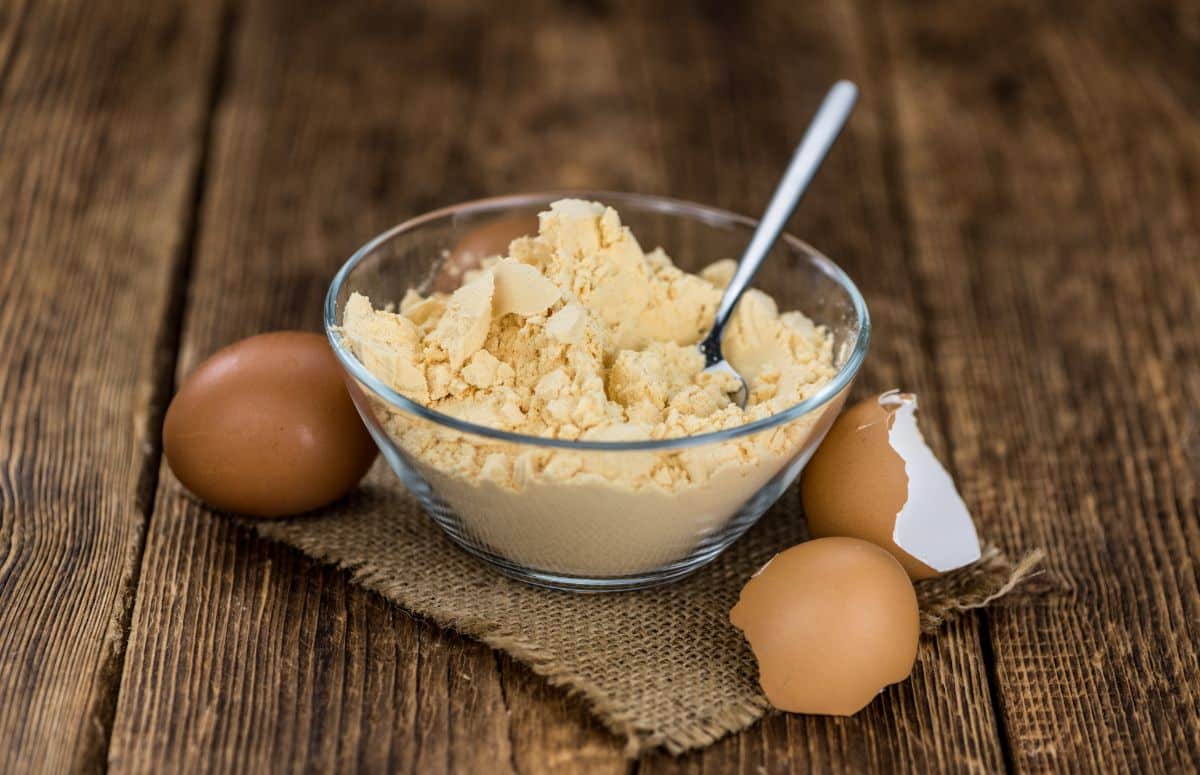
After the eggs are dried and cooled, they can be pulverized in a blender and turned into a dried egg powder that can be used for cooking or baking. Store powdered eggs in a canning jar with an oxygen absorber and an airtight lid. You may prefer to use them in casseroles or baked goods, though some people enjoy them as rehydrated and then scrambled eggs or egg dishes.
To use dried eggs, you’ll need to rehydrate them before cooking or baking. For each egg you need, just mix one tablespoon of egg powder with two tablespoons of cool water and let sit for ten minutes, then proceed as usual with your recipe.
1 Tablespoon Egg Powder + 2 Tablespoons Water = 1 Whole Egg
Water-Glassing
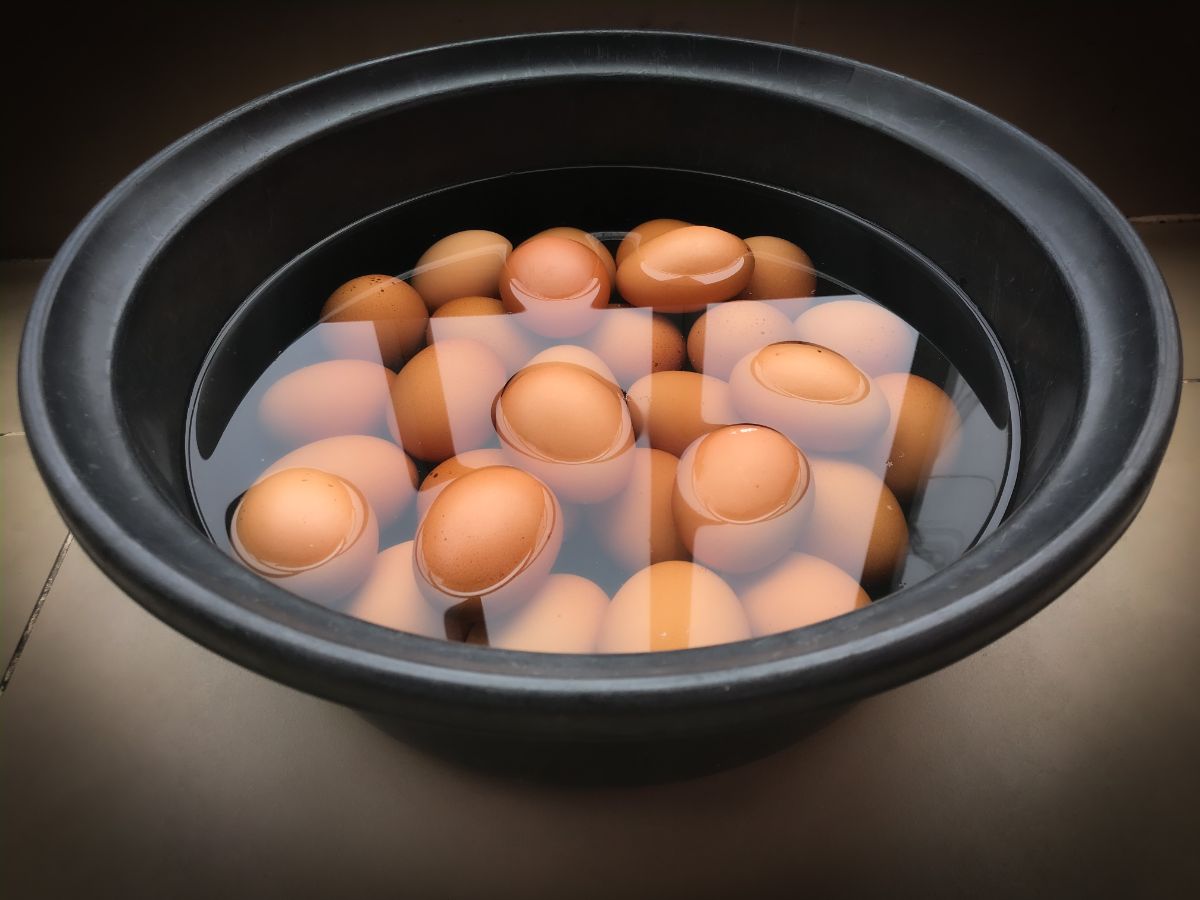
Water-glassing is a traditional way to preserve eggs in a mixture of pickling lime and water. The eggs that you preserve must be unwashed and have the natural bloom intact. This protects the integrity of the eggs.
The eggs must be whole and unbroken, and free of dirt or feces. Do not use cracked eggs!
To water-glass preserve your eggs, you will first need to mix a solution of hydrated lime (also called pickling lime) and water. One quart of solution will preserve about 15 eggs. You can mix the solution first and add to it until the container is full by adding clean, fresh eggs each day.
You will need a large food-grade vessel for your solution and your eggs. It will need a cover. Large one-gallon glass jars are a popular choice. Food-grade plastic buckets are, too. For the sake of manageability, you will probably want to use a bucket not much larger than three gallons.
Use water that is not chlorinated or fluoridated. Bottled spring water or distilled water can be used. If you have municipal water, you can let it sit out overnight to evaporate the chlorine.
For the solution:
Mix five ounces of pickling lime (aka hydrated lime) in five quarts of water. Mix to dissolve the lime.
Add the eggs:
Add the eggs to the solution. Place them with the small, pointy-end down. Cover the bucket with the lid to prevent evaporation.
Store in a cool, dark place. Eggs will keep for 12 to 18 months (about 1 and a half years).
Wash eggs before using. Water-glassed eggs can be used just as you would use fresh eggs for all types of cooking and baking.
*Water-glassing is another method that is not endorsed by all government agencies, so again, the caution to preserve “at your own risk” must be stated here.
Other Options—Cooking and Storing Eggs
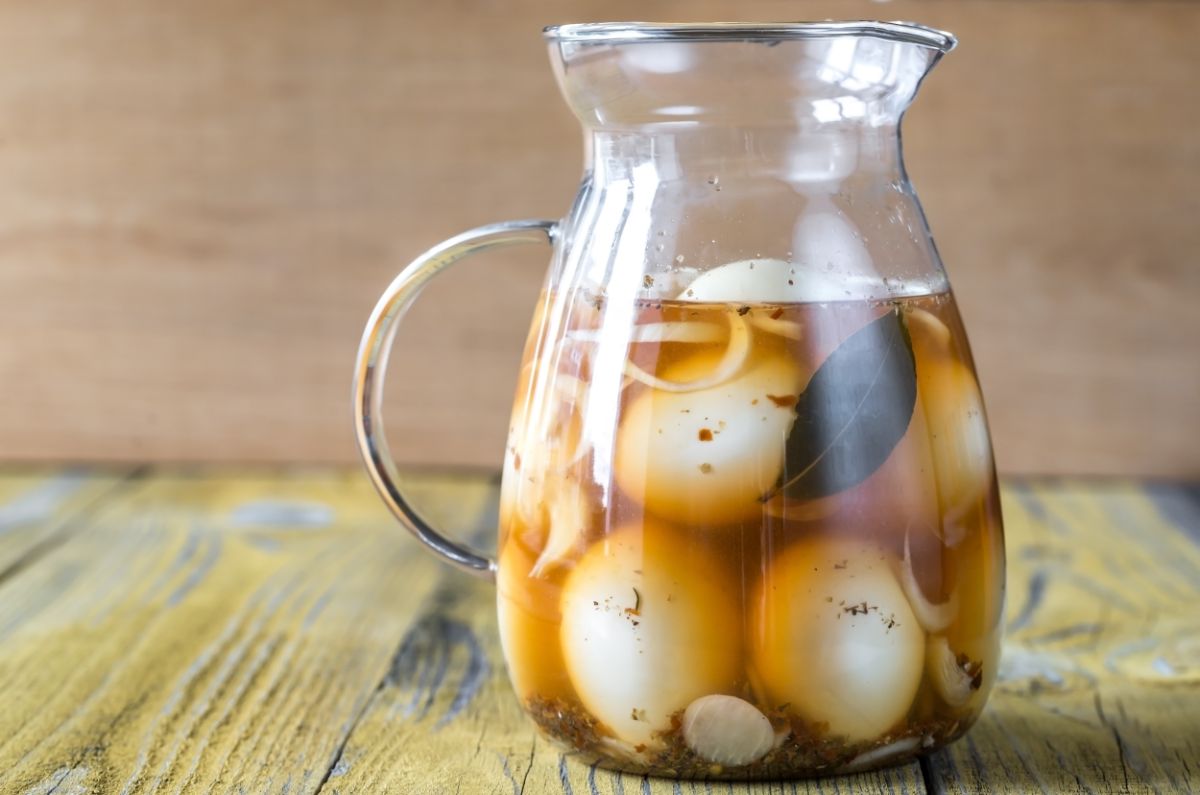
There are other options for storing eggs for later use, but the four above are the most common options and the methods that preserve the most versatile use for future cooking and baking. Following are a few more ideas.
Pickling eggs is a good method, but it is difficult to find a shelf-stable method for pickling eggs; most recipes for pickled eggs require refrigeration. Also, pickled eggs are hard-boiled and then pickled in a typical pickling brine. While delicious, their use is limited to eating whole or using chopped up or in a pickled egg salad.
Other options to keep eggs on your menu through the lean winter months are to make egg dishes ahead and freeze them. You could make scrambled eggs, breakfast burritos or breakfast sandwiches, or frozen quiches that you can then pluck out of the freezer, reheat, and enjoy. There are countless ways to make make-ahead egg dishes for the freezer.
Why Choose Just One?
Though you’re sure to eventually find your favorite method to preserve your extra eggs, you do not need to restrict yourself to just one method, either. A combination of preserving options can get you easily through the winter.
For example, store what you can in cold storage or in the refrigerator, but maybe freeze, water glass, pickle, or dehydrate some eggs earlier on throughout the summer. Make some of those tasty make-ahead egg dishes for your freezer. There will be many mornings and evenings when you’ll be glad to have something fast and easy to throw in the microwave or oven. Since those methods have longer shelf lives, you can span more time and spread out your egg production in a way that wastes less and keeps you in eggs even when your ladies are giving you none.
